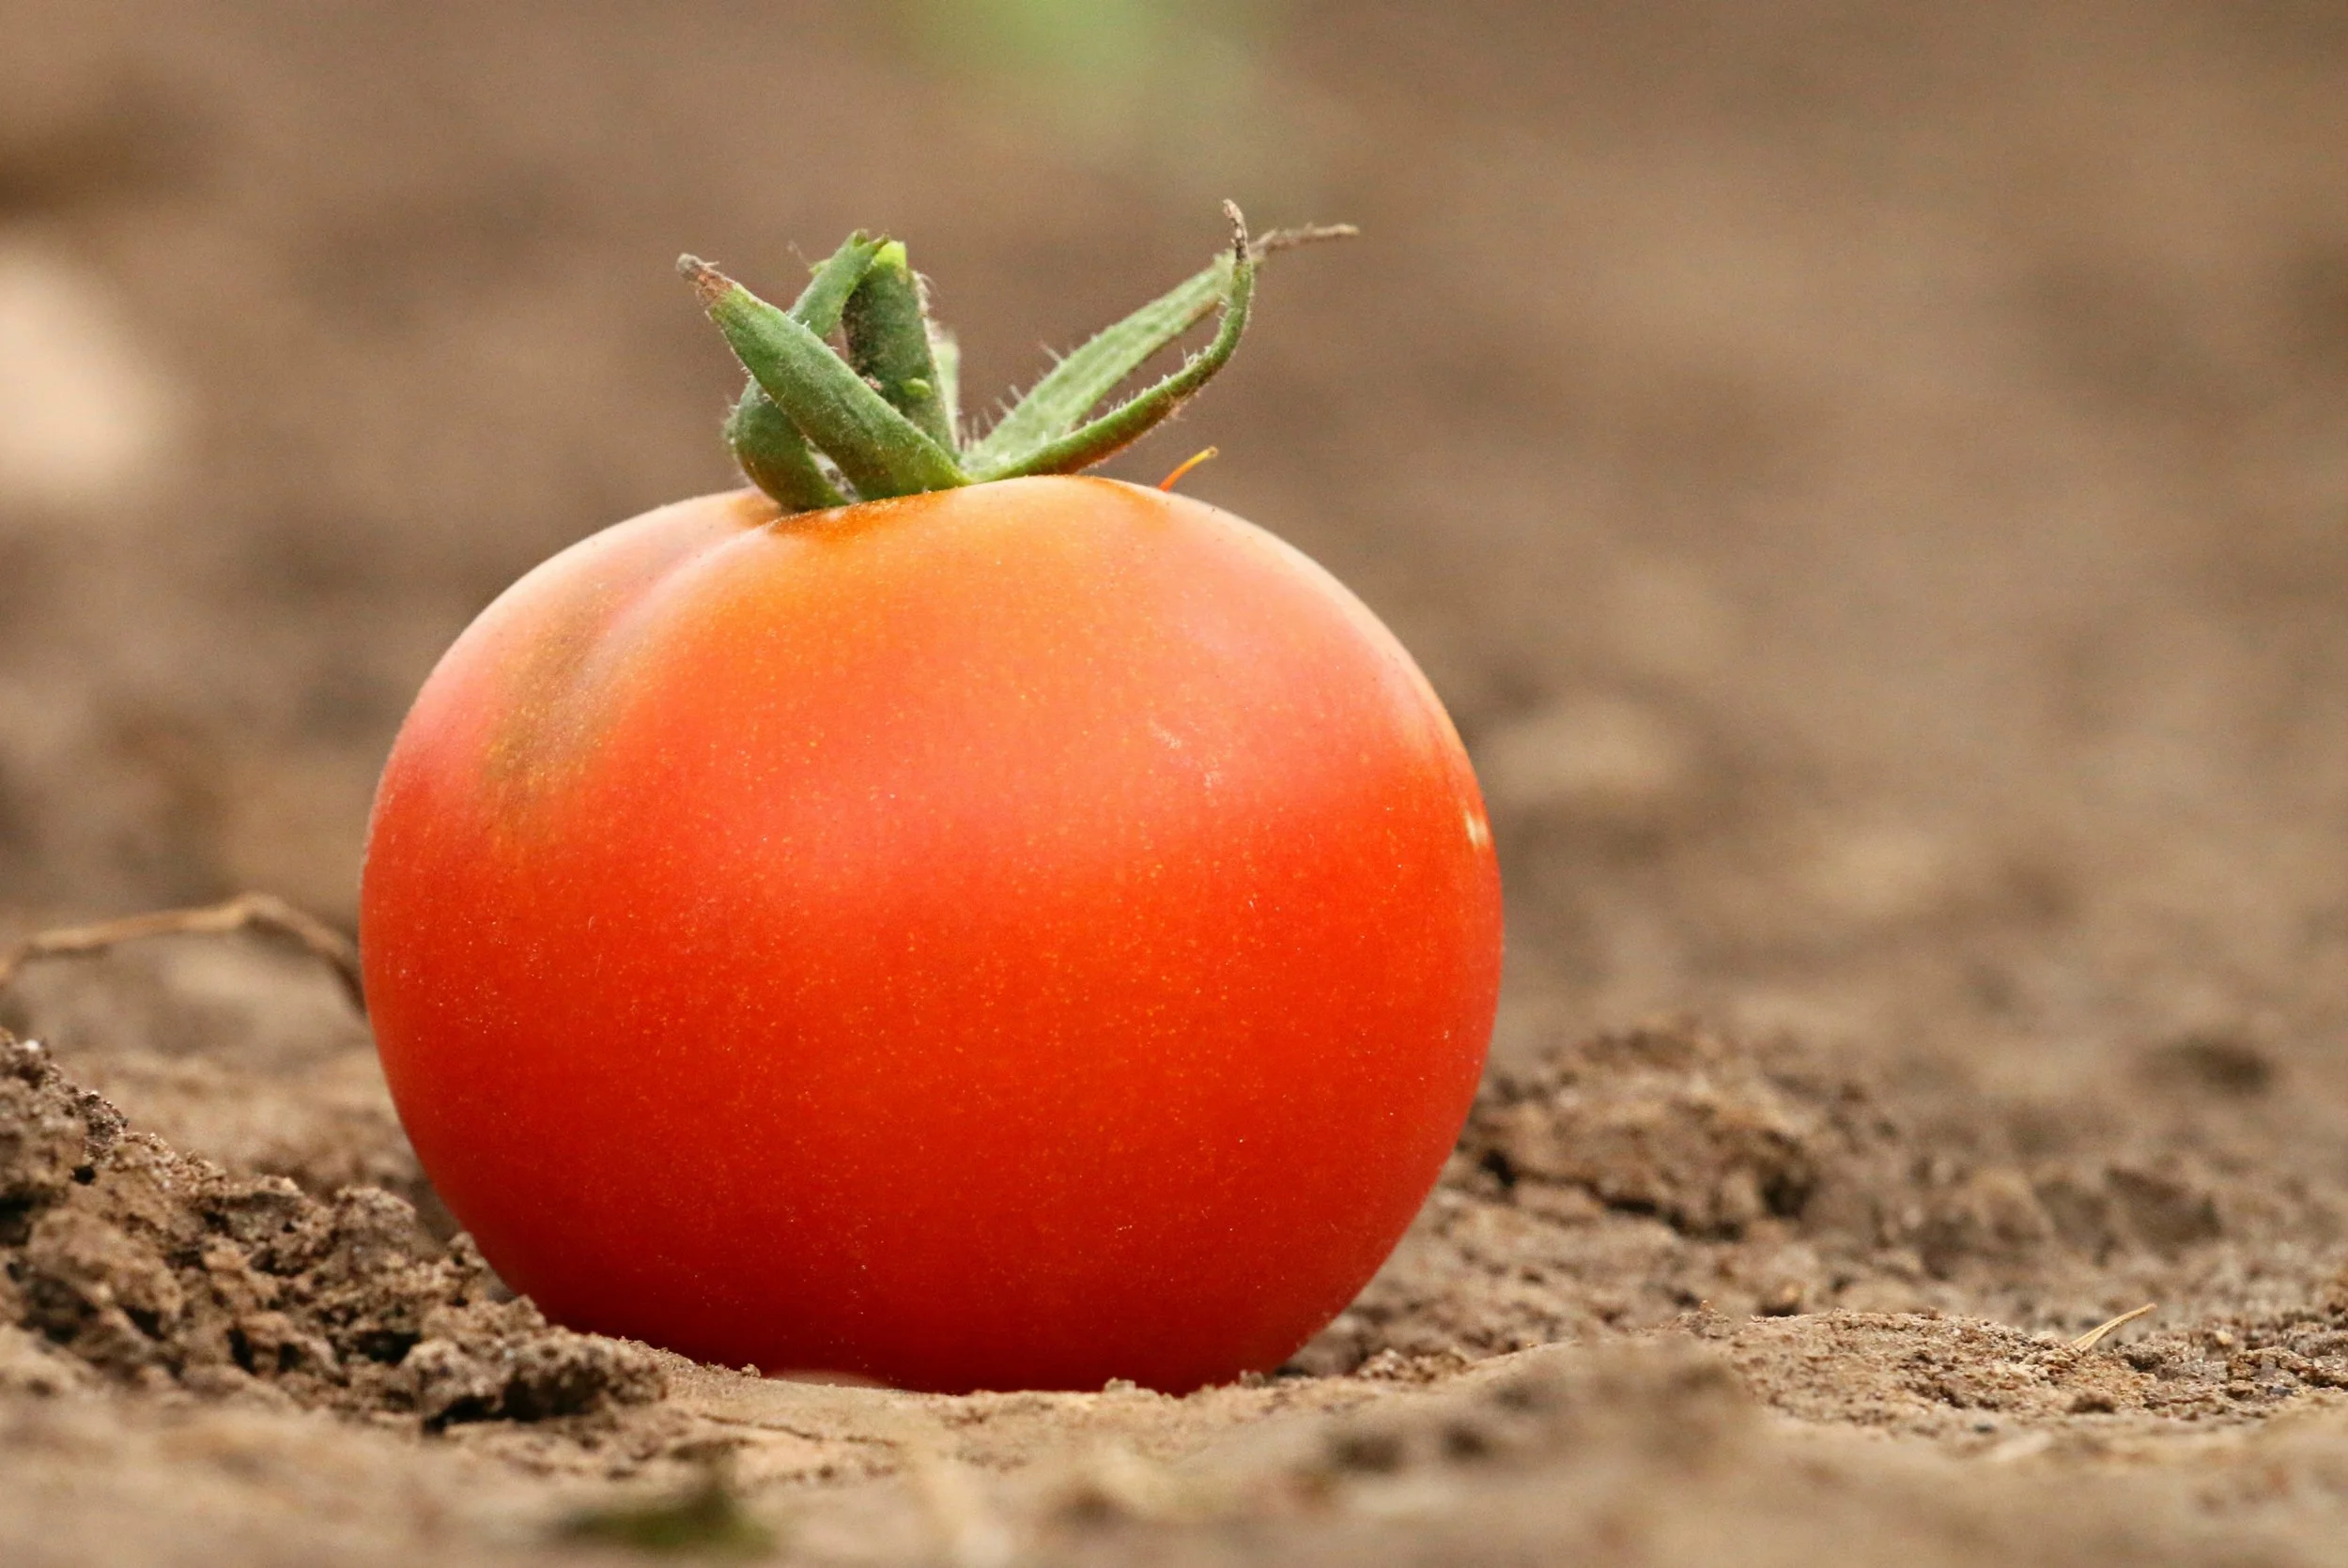
Saving Heirloom Tomato Seeds
Image via pxHere - CC0
In today's fast-paced world, where everything is commercialized and standardized, the idea of preserving heritage and maintaining diversity has become increasingly important. One way to do so is by saving heirloom tomato seeds. These varieties of tomatoes have been handed down through generations, carrying with them unique flavors, colors, and textures. By learning how to save heirloom tomato seeds, you not only contribute to the conservation of agricultural diversity but also empower yourself to grow your own exquisite tomatoes year after year. In this blog post, we will explore the art of saving heirloom tomato seeds and equip you with the knowledge to embark on this fulfilling journey.
Step 1: Selecting the Right Tomatoes:
The first step in saving heirloom tomato seeds is selecting the right tomatoes. Heirloom tomatoes come in a wide range of colors, sizes, and flavors, making the selection process an exciting endeavor. Choose tomatoes that are fully ripe, exhibiting the characteristics you appreciate, such as vibrant color, exceptional taste, or unique patterns. It's crucial to remember that hybrid varieties won't produce consistent results, so focus on open-pollinated heirlooms.
Step 2: Extracting the Seeds:
Once you've chosen your perfect tomatoes, it's time to extract the seeds. Follow these simple steps:
Cut the tomato horizontally, exposing the seed chambers.
Squeeze or scoop out the pulp containing the seeds into a container.
Add some water to the container and cover it with a lid or plastic wrap.
Allow the container to sit in a warm place, preferably around 75-85°F (24-29°C), for about three to five days. During this time, the mixture will ferment, breaking down the gel surrounding the seeds.
Step 3: Fermentation Process:
Fermentation is a critical step as it helps remove the germination inhibitors present in the tomato gel. It also mimics the natural process that occurs when tomatoes drop to the ground and decompose, preparing the seeds for successful germination. During the fermentation process, the container might develop a strong odor, so it's advisable to keep it in a well-ventilated area.
After three to five days, check on the container. The mixture will likely have a layer of mold and a foul smell. Don't worry; this is normal. Carefully pour off the moldy layer, along with any floating seeds. Rinse the remaining seeds thoroughly under running water, removing any remaining pulp.
Step 4: Drying and Storing the Seeds:
After rinsing the seeds, place them on a labeled and ventilated surface to dry. A coffee filter, paper towel, or fine mesh screens are suitable for this purpose. Spread the seeds in a single layer, ensuring they don't touch or overlap. Allow them to dry completely, which usually takes about a week or two, depending on the humidity levels.
Once the seeds are dry, store them in a cool, dry place. Small glass jars or envelopes work well for storing seeds, as they offer protection from moisture and pests. Remember to label each container with the tomato variety and the year of collection for easy reference in the future.
Saving heirloom tomato seeds is a wonderful way to preserve the rich tapestry of tomato varieties while cultivating a deeper connection to the food we consume. By following these steps, you can continue the legacy of these remarkable plants, relishing the distinctive flavors and characteristics of heirloom tomatoes in your own garden for years to come. Remember, as you save heirloom tomato seeds, you play a vital role in preserving biodiversity and safeguarding our agricultural heritage. So, embrace the art of seed-saving, unlock the secrets of heirloom tomatoes, and join the ranks of passionate gardeners dedicated to preserving nature's precious gifts.

